I've been teaching online for over twenty years. And with everything over twenty years, a lot has changed. The cost has come down and the tools are plenty to be able to connect online effectively. It used to cost a ton and take forever. Now it's as simple as an iPhone, a webcam on your laptop and some easy to use software like Camtasia from Techsmith. As I lead a program and teach both face-to-face and online, here are some tools I have found helpful. I'll show you the setup, how I use them in each context and the outcomes for each.
My basic setup

This default setup that is inexpensive and functional. Nothing too fancy. I use a 13-inch MacBook Pro connected to an external Dell Monitor, soundbar and Logitech USB camera that has a mic included. I also have an Apple wireless keyboard and trackpad. Most all I do is with this setup.

As you can see, I have a simple desk setup and chair. The desk is a standup version, which allows me to record videos standing up which makes me look more natural when I communicate.
My main video editing tool
I primarily use Camtasia for video editing. And with the latest version of Camtasia called Rev, it makes it quick and easy to produce high-quality content in a short period of time. The videos in this post were produced with Camtasia. Here's a quick overview of how it works from my friend Andy Owen.
See Camtasia in action
1. Utilizing video in discussion threads
Traditional online learning poses questions and students write reflections and post responses. One of my classes I require students to record video and post their initial reflection as a video. Here's the breakdown of how things work.
The setup
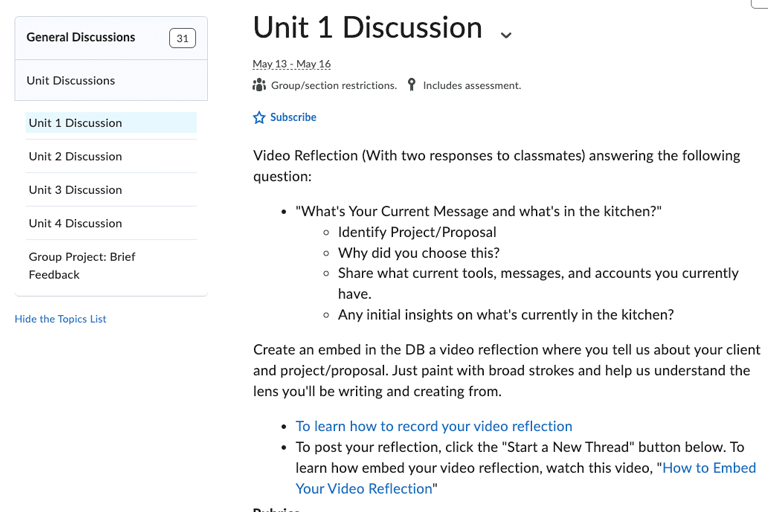
- Put students in groups of 3-4. This is setup on the back end in D2L. Purpose is to have a smaller group do deep instead of a larger group going shallow. They get to know their projects and lives through the class.
- Question posed with explanation of how to record and upload videos. Students can read the question and prepare an initial response. Some write them out. Some freestyle. I also provide videos for students on how to record and how to upload and embed to the thread to lower the learning curve.
- Initial post is video and responses are written the rest of the week.
- A rubric is also attached to provide students with clarity on expectations for the assignment.
The outcomes
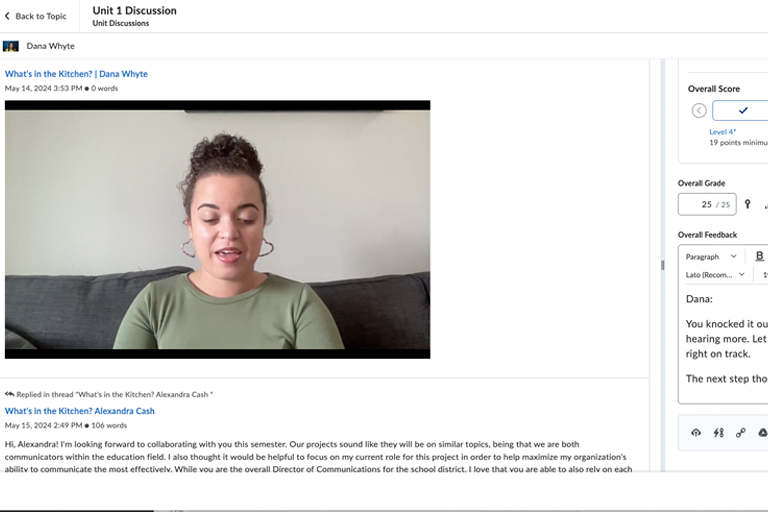
Initially, students hate it. But, by week 2, they are in a groove and by week 6, they are deeply connected to classmates. Consistent reviews are: “Thank you for making me do this”.
2. Utilizing video in class lectures
You can record lectures with most any camera. I have $2000 DSLR cameras with mixers, mics, lights and monitors that take up lots of time and energy. They are useful for some applications. But with the new iPhones and cell phone cameras, I have a built-in 4K camera. The key is to find better audio inputs for better audio.
The laptop + iPhone + Rode mic setup
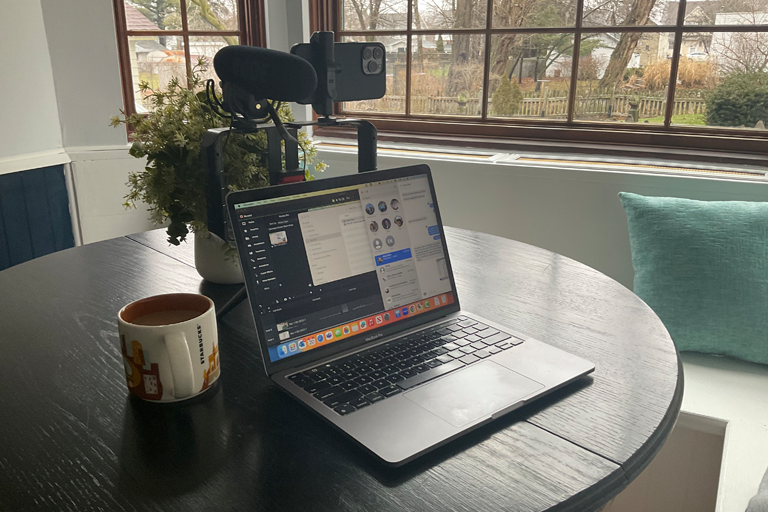
I use my iPhone on a tripod standing up, my webcam on my desktop setup, the built-in webcam in my MacBook and this setup where I use my iPhone in continuity mode and connect a Rode Mic for great audio. This allows my Mac screen to have my notes and I can maintain eye contact and great audio with the external mic.
The DSLR + laptop slide deck + greenscreen setup

We have a drop-in studio which was an old office that has been very useful. My colleague Dr. Saleem Alhabash uses the green screen setup with a lav mic and DSLR camera setup.
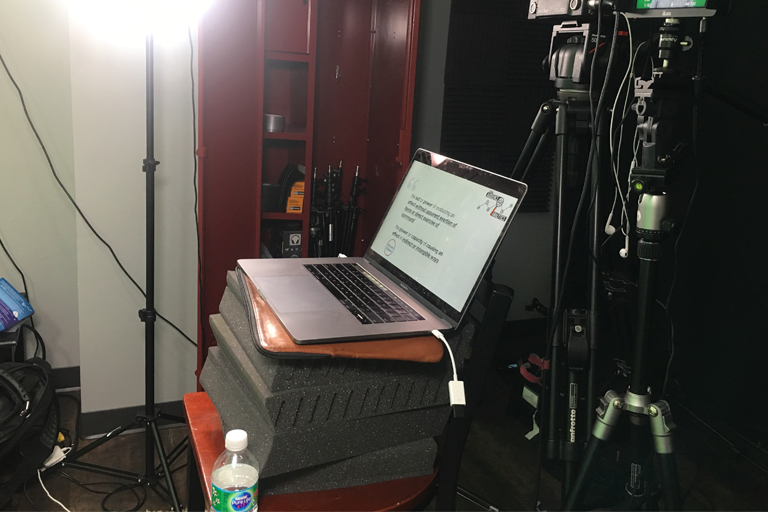
He has his powerpoint slides on his Mac which allows him to teach like he would normally in his classroom. He can see the slides and then look at the camera to deliver the content.
The post-production setup
For the quick storytelling in context on the iPhone, I record on iPhone, airdrop the file to my Mac, edit in Camtasia, export, upload, embed and post/share.
For the written/teleprompter setup, we use Promptsmart Pro on iPad, airdrop to Mac, edit in Camtasia, export and upload. If we record on a DSLR, we use the traditional setup of transferring files from SD cards manually, edit in Camtasia, export, upload, embed and post/share.
The outcomes
- Students feel more connected to me and to the content
- Provides flexibility to do both “looser” narrative teaching through storytelling and more “direct” teaching to a specific targeted learning objective.
- Provides a way for JIT (Just in Time) quick Video Reflections/Summaries that can get quickly to students.
3. Utilizing video for fast feedback
One application quick video reflections or summaries is for generalized class feedback. Each student will turn in multiple assignments that may have basic feedback. I can create a video with generalized feedback on specific class themes that can provide an additional layer of feedback without having to create a video for each student. I also sometimes now use my Mac webcam and create the video inside Camtasia Rev. This allows a quicker workflow and more timely and higher quality video production.
The setup

- Outline written.
- Iphone camera with Rode mic
- Airdrop to Mac to edit in Camtasia
- Upload and share.
The outcomes
- Provides generalized feedback for the entire class, but also a sense of connection to between the student and faculty.
- Provides clarity on where we were last week and where we are headed this week.
- Feeling that the class isn’t “in a can”, but alive with real time video.
4. Utilizing video in assessment
Over the years, I've worked on a balance of the goal of "timely and accurate feedback". I strike a balance of having multiple assignments with different assessment methods. I use rubrics where I can "click out" a grade by tapping the rubric on the assessment side in D2L. I also use D2L's audio recording and Siri to dictate feedback. For final projects or group projects, I use video to provide feedback. I do this two ways. The first I use TechSmith's capture app for Ipad to record and write on the assignments. This helps the students see and hear the feedback as I edit their submissions. I also use Camtasia Rev to record myself reading through the submission in realtime. This helps the student feel like I'm sitting next to them going over the feedback. It takes a lot less time than going through a document line-by-line. Camtasia Rev makes it drop-dead-simple to do this. It empowers me to grade papers while on a beach on vacation or at a conference on a patio.
The setup
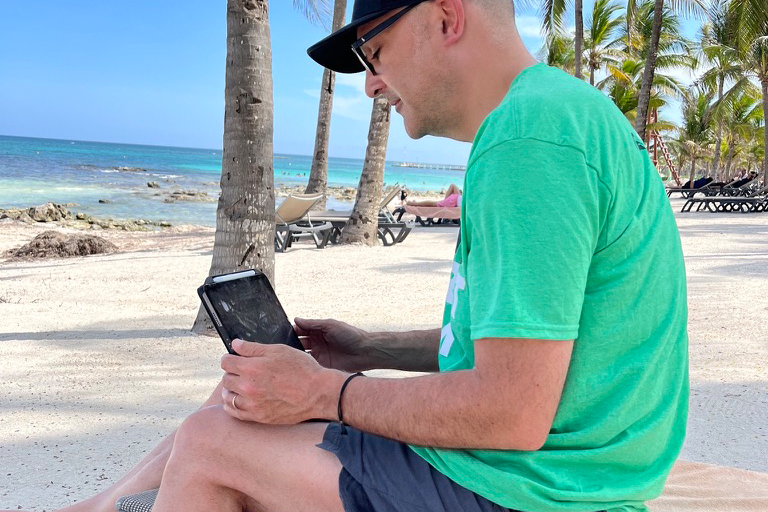
Here's the iPad setup. I use Siri to dictate and the rubrics to tap and grade. I also use TechSmith Capture to draw/record and upload for more detailed feedback.
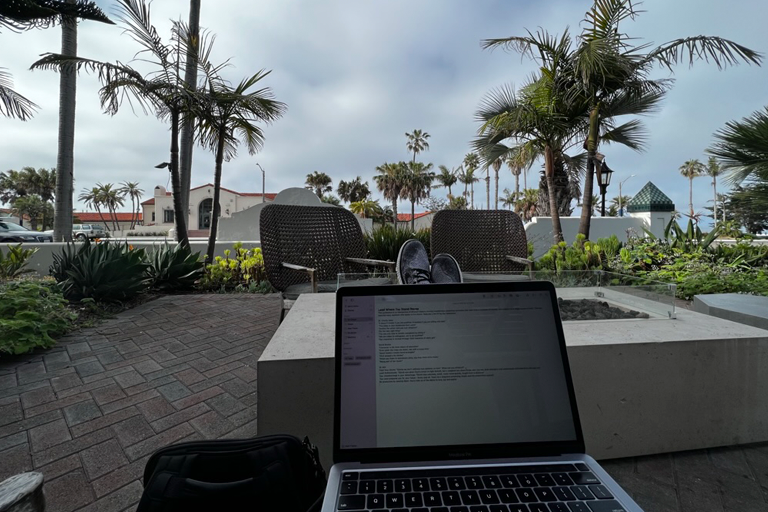
Here's an application of being present at a conference on the west coast grading in between sessions. I used Camtasia Rev for fast videos as well as D2L's built-in audio recorder and Siri to dictate as I go.
The outcomes
- Students get the feeling that I have spent time honoring their work.
- Students get more organic and targeted feedback on their work beyond a rubric or a few bullet points in an LMS with a score.
5. Utilizing video in place of meetings

How many of us love meetings? Not many. We'd all like our time back for more productivity. I use a setup for program announcements as well as faculty/staff meetings to help us get our time back. I summarize the video in a written format and provide the video to watch which is also captioned. Viewers can watch the video while they read the summary, just watch the video, or skip the video and read the summary. Similarly to the post your reading right now :)
The outcomes
- Saves faculty time and another 60-min meeting that really needs 15-min
- Allows faculty to stay connected beyond a basic email to feel and see updates from leadership
- Empowers specific follow up on only the things that matter for the faculty or the leadership
My tool list
Here's a small list of the basics of what I use. I'm happy to dive deeper with gear if you have additional questions.
- Camtasia
- Promptsmart Pro
- Rode Video Mic Pro
- Amazon Mic
- Amazon Rig Setup List
- IPhone Holder
- iPad Holder
- Logitech Webcam
